 Old Photo Studio
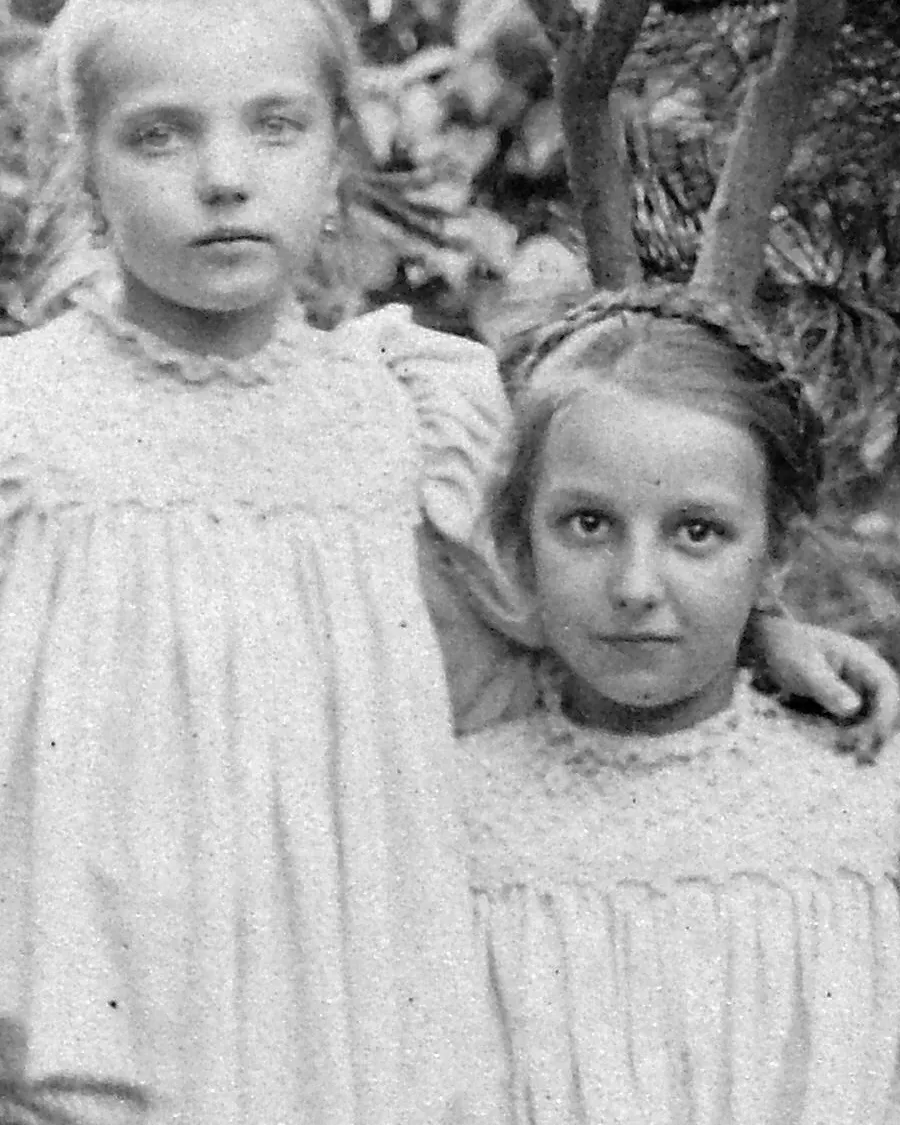
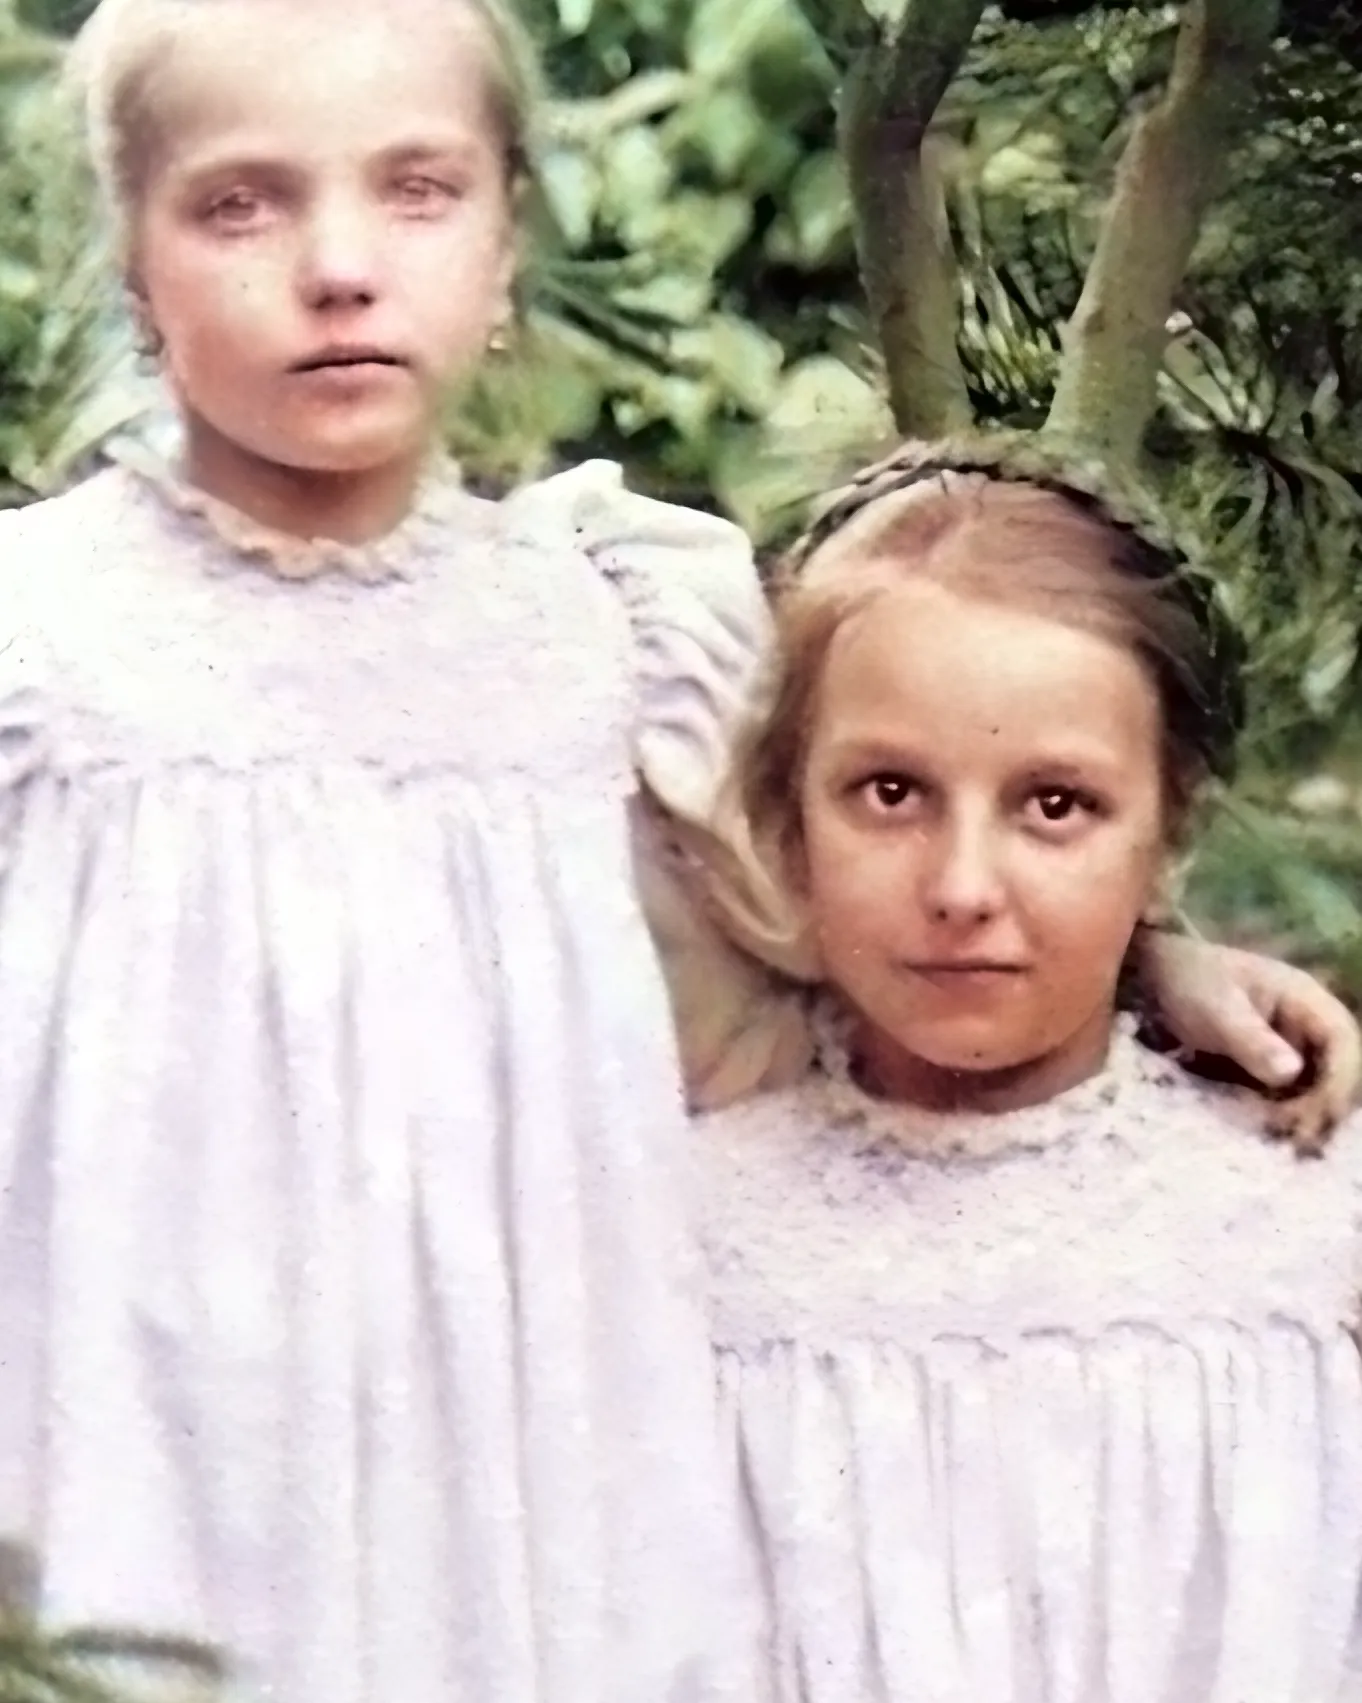

What it does
- Removes scratches and dust. The tool marks scratches, dust and specks in red for you to check. Paint over any it missed, erase any marks that aren’t damage, then fill them in. Only the marked parts are repainted.
- Adds color to black-and-white photos. A color model suggests colors for black-and-white and sepia photos. A slider makes them more muted or more vivid, and you can switch color off. The colors are a guess, not the real ones. More on color: Colorize black and white photos.
- Evens out faded tones. If a print has faded to flat grey, the tool stretches its tones, so dark parts are darker and light parts are lighter.
- Cleans up grain and blur. It reduces film grain, soft blur and the blocky marks left by heavy JPEG compression.
- Makes the photo 4 times larger. The result is 4 times wider and 4 times taller, so you can print it larger. Very large photos are made smaller first, so your device can handle them.
- Keeps your photo private. The work happens on your own device. The photo is never sent to us or anyone else.
You get a new PNG file. Your original file is not changed.
Restore and colorize in one go. One photo goes through all three steps in a single pass. Check the scratch marks, choose how much color you want, and save. You can skip the scratch step, or switch color off.
How to get the best result
1. Scan the print if you have a scanner. The Library of Congress suggests:
- 300 dpi for ordinary 4×6 and 5×7 prints;
- 400 or 600 dpi if you want to enlarge them to 8×10 or larger;
- a higher setting for very small prints and slides, about 1400 to 1500 dpi.
2. Clean the scanner glass first. The Library of Congress says to wipe the glass with a lint-free cloth dampened with water, sprayed onto the cloth, not onto the scanner. Try not to touch the glass when you place the photo, because fingerprints smudge it.
3. Handle the photo gently. Hold it by its edges, with clean, dry hands or clean gloves. Don’t put tape or sticky notes on it. Use the scanner’s glass, not a sheet feeder: the National Archives says automatic feeders can jam and tear fragile papers.
4. Leave stuck photos where they are. Photos on old self-stick album pages can bond to the page for good, says the Northeast Document Conservation Center (NEDCC). You can scan or photograph them on the page.
5. Using a phone instead? Lay the photo flat in even light. Hold the phone straight above it, so the photo isn’t tilted. Move or tilt the photo until there is no glare, and fill the screen with the photo. The tool can only work with what the camera captured.
6. Keep your original. Keep the print and your first scan, and save the restored copy as a separate file. The National Archives advises keeping originals after you digitize them, and keeping three copies of your files: on two kinds of storage, with one copy in another place.
What it can’t fix
- Parts that are missing. If a corner is torn away, there is nothing left for the tool to work from. Where it fills a scratch, what it paints in is a guess based on the area around it.
- Very heavy blur or shake. It can sharpen soft edges, but it cannot rebuild a face that is only a few blurry dots.
- Every scratch on its own. The automatic marks miss some dust and fine scratches, so check the red marks and paint over what’s missing. Faces are left out of the automatic marks, because the tool mistakes the light in people’s eyes for specks. Mark a scratch on a face yourself.
- Stains and tears. It repaints marked scratches and specks. It doesn’t remove stains, and it can’t rebuild a large torn-away piece.
- The real colors. Added color is the model’s guess. A dress or a car may have been a different color. If the colors look wrong, make them more muted with the slider, or switch color off.
The tool estimates fine detail such as grain and texture from the old photos it learned from. Look closely at faces and writing before you print, and keep your original.
Links: How it works · Questions and answers
Sources for the tips
- Library of Congress, Personal Digital Archiving: “Scanning Your Personal Collections” (PDF, no date printed). https://www.digitalpreservation.gov/personalarchiving/documents/PA_scanning.pdf (read November 4, 2026)
- Library of Congress, The Signal blog: “Personal Digital Archiving: The Basics of Scanning” (March 2014). https://blogs.loc.gov/thesignal/2014/03/personal-digital-archiving-the-basics-of-scanning/ (read November 4, 2026)
- Library of Congress Preservation: “Care, Handling and Storage of Photographs”. https://www.loc.gov/preservation/care/photo.html (read November 4, 2026)
- National Archives: “Digitizing Family Papers and Photographs”. https://www.archives.gov/preservation/family-archives/digitizing.html (read November 4, 2026)
- Northeast Document Conservation Center: “5.3 Care of Photographs” (revised 2019). https://www.nedcc.org/free-resources/preservation-leaflets/5.-photographs/5.3-care-of-photographs (read November 4, 2026)